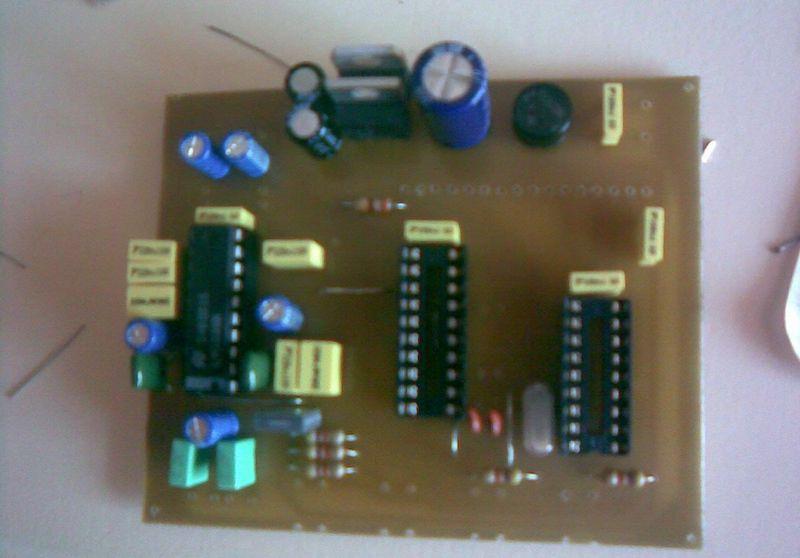
Adaptorul meu arata asa:


Adaptorul lui Cristi arata asa:


Dupa ce m-am chinuit si si eu cu el un pic si Cristi si-a luat altul care facea la fel.. partea "ciudata" era ca la rularea programului de gasire a adresei aparea ca fiind 0x27...
 Sketch-ul de depistare a adresei celor conectati la interfata i2c se gaseste la http://playground.arduino.cc/Main/I2cScanner.
// --------------------------------------
// i2c_scanner
//
// Version 1
//    This program (or code that looks like it)
//    can be found in many places.
//    For example on the Arduino.cc forum.
//    The original author is not know.
// Version 2, Juni 2012, Using Arduino 1.0.1
//     Adapted to be as simple as possible by Arduino.cc user Krodal
// Version 3, Feb 26  2013
//    V3 by louarnold
// Version 4, March 3, 2013, Using Arduino 1.0.3
//    by Arduino.cc user Krodal.
//    Changes by louarnold removed.
//    Scanning addresses changed from 0...127 to 1...119,
//    according to the i2c scanner by Nick Gammon
//    http://www.gammon.com.au/forum/?id=10896
// Version 5, March 28, 2013
//    As version 4, but address scans now to 127.
//    A sensor seems to use address 120.
//
//
// This sketch tests the standard 7-bit addresses
// Devices with higher bit address might not be seen properly.
//

#include <Wire.h>


void setup()
{
  Wire.begin();

  Serial.begin(9600);
  Serial.println("\nI2C Scanner");
}


void loop()
{
  byte error, address;
  int nDevices;

  Serial.println("Scanning...");

  nDevices = 0;
  for(address = 1; address < 127; address++ )
  {
    // The i2c_scanner uses the return value of
    // the Write.endTransmisstion to see if
    // a device did acknowledge to the address.
    Wire.beginTransmission(address);
    error = Wire.endTransmission();

    if (error == 0)
    {
      Serial.print("I2C device found at address 0x");
      if (address<16)
        Serial.print("0");
      Serial.print(address,HEX);
      Serial.println("  !");

      nDevices++;
    }
    else if (error==4)
    {
      Serial.print("Unknow error at address 0x");
      if (address<16)
        Serial.print("0");
      Serial.println(address,HEX);
    }
  }
  if (nDevices == 0)
    Serial.println("No I2C devices found\n");
  else
    Serial.println("done\n");

  delay(5000);           // wait 5 seconds for next scan
}


// http://arduinoinfo.info/
/* YourDuino.com Example Software Sketch
 20 character 4 line I2C Display or 16 character 2 line I2C Display
 ANOTHER NEW TYPE Marked "LCM1602 IIC  A0 A1 A2"
 A0-A1-A2 are grounded so I2C Address is 0x20
 terry@yourduino.com */
/*-----( Import needed libraries )-----*/
#include <Wire.h>
#include <LCD.h>
#include <LiquidCrystal_I2C.h>  // F Malpartida's NewLiquidCrystal library
//Download: https://bitbucket.org/fmalpartida/new-liquidcrystal/downloads
// Move original LiquidCrystal library elsewhere, copy this in it's place
/*-----( Declare Constants )-----*/
#define I2C_ADDR    0x27  // Define I2C Address for the PCF8574T
//---(Following are the PCF8574 pin assignments to LCD connections )----
// This are different than earlier/different I2C LCD displays
#define BACKLIGHT_PIN  3
#define En_pin  2
#define Rw_pin  1
#define Rs_pin  0
#define D4_pin  4
#define D5_pin  5
#define D6_pin  6
#define D7_pin  7

#define  LED_OFF  1
#define  LED_ON  0

/*-----( Declare objects )-----*/
LiquidCrystal_I2C  lcd(I2C_ADDR,En_pin,Rw_pin,Rs_pin,D4_pin,D5_pin,D6_pin,D7_pin);

void setup()   /*----( SETUP: RUNS ONCE )----*/
{
 // lcd.begin (20,4);  // initialize the lcd
  lcd.begin (16,2);  // initialize the lcd
// Switch on the backlight
  lcd.setBacklightPin(BACKLIGHT_PIN,POSITIVE);
  lcd.setBacklight(LED_ON);
}// END Setup

void loop()   /*----( LOOP: RUNS OVER AND OVER AGAIN )----*/
{

// Reset the display
  lcd.clear();
  delay(1000);
  lcd.home();

// Print our characters on the LCD
  lcd.backlight();  //Backlight ON if under program control
  delay(1000);
  lcd.setCursor(2,0); //Start at character 2 on line 0
  lcd.print("Hello, world!");
  delay(1000);
/*  lcd.setCursor(2,1);
  lcd.print("From YourDuino");
  delay(1000);
*/
  lcd.setCursor(3,1);
  lcd.print("from niq_ro   ");
  delay(1000);
/*  lcd.setCursor(0,2);
  lcd.print("20 by 4 Line Display");
  lcd.setCursor(0,3);
  delay(2000);
  lcd.print("http://YourDuino.com");
*/
  delay(5000);
  lcd.noBacklight();
  delay(1000);
} // END Loop